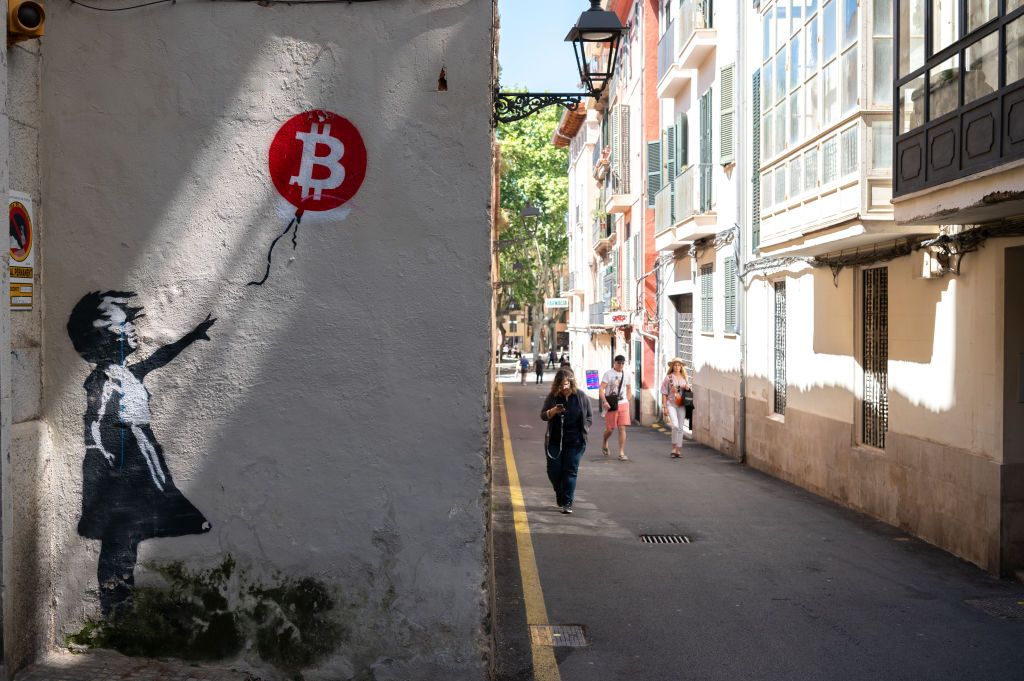
NFT is a digital asset that represents real-world objects such as art, music, in-game items, and videos. NFT stands for Non-Fungible Token.
To buy and sell NFTs, you first need to obtain a digital wallet that allows you to store NFTs and cryptocurrencies. Depending on what currencies your NFT provider accepts, you will likely need to purchase a cryptocurrency such as Ether. You must list your NFT for sale. The most popular wallets that support NFT sales are MetaMask, Trust Wallet, and Coinbase Wallet.
You can follow the steps below to sell NFT:
Step 1: Buy some crypto to Fund your Wallet
All NFT auction platforms mentioned above will require you to pay upfront to ‘minting’ an NFT; this is the process by which you can sell your artwork and turn it into an unchangeable token. In most cases, the payment must be made in cryptocurrency; This means that before you have a chance to earn any cryptocurrencies by selling an NFT of your work, you must purchase some to cover the fees.
Ether (ETH) is the most widely accepted currency as it is the native cryptocurrency of the open-source blockchain platform Ethereum, where NFTs were first launched. However, some platforms accept various forms of payment and also support the creation of NFTs using different blockchains.
If you already have some ETH, you need to make sure you have a digital wallet that you need to connect to your chosen NFT platform to pay (and receive). If you don’t have a currency, there are many cryptocurrency exchanges where you can buy ETH or other currencies, but the fastest and easiest option is usually to buy ETH directly with the digital wallet of your choice.
Step 2: Create a Digital Wallet to Use for NFT Transactions
To create a digital wallet with MetaMask, you need to go to the Metamask website and click on the ‘Download’ button in the upper right. Since we are using a desktop computer, we will choose the option to install the browser extension, but you can also use the download options for the mobile application.
You will be asked to confirm that you want to ‘create a new wallet and seed phrase’. ‘Seed Phrase’ is basically; is a list of words that store blockchain information. After selecting the Yes option, accept the relevant terms and create your new password. You will then set up your account.
Step 3: Add Some Cryptocurrency to Your Wallet
After you set up your MetaMask wallet or any digital wallet, you will need to add some ETH to it. If you don’t already have some ETH, you will need to buy some now, so click the ‘Buy’ button and select ‘Buy ETH with Wyre’.
You will be taken to a screen where you can use Apple Pay or Credit card to buy ETH. However, you may want to check the fees of your chosen NFT platform to find out how much you need to buy, so keep in mind that you can leave this stage for later.

Step 4: Connect Your Wallet to an NFT Platform
Most digital wallets work similarly. Whichever you choose, you need to connect it to the NFT platform you will be using to sell the NFT. We’re using the Rarible platform in this example, but there are many other NFT platforms to choose from and the process will generally be similar to the one we’ve outlined below. Rarible is one of a number of marketplaces for digital collectibles.
Go to Rarible.com. In the right corner of the screen is a button that says ‘Connect wallet’. Click there and on the next screen, you will be asked for your wallet provider, this is MetaMask as you know in our example. A popup will give you the option to link your wallet to Rarible. Then click ‘Next’ and then ‘Connect’, accept the terms of service and confirm that you are over 13 years old.
Step 5: Upload the File You Want to Convert to NFT
Now that you have a wallet tied to ETH to pay, you are ready to learn how to make and sell an NFT. On the Rarible site, click the blue ‘Create’ button in the top right and select the relevant token and hit the Create button. This is our Ethereum. You are then given the option to create a one-time run or sell the same product multiple times. After you upload your digital file, you will see a preview of how your NFT shipment will look on the right.
Step 6: Set Up an Auction for Your NFT
In the next part of the form, you will need to choose how to sell your NFT painting. There are three options. The “Fixed price” allows you to set a price and sell your NFT instantly (like the ‘Buy now’ option on eBay). The ‘Unlimited Auction’ option allows people to keep bidding until you accept an offer.
You will then have the option ‘Unlock once purchased’. This gives you the chance to provide your final buyer with a full, high-resolution version of your art and additional material via a confidential web page or download link. Below that is the most confusing option titled ‘Choose Collection’. This is a very technical question about how the blockchain is set up. The default option here is Rarible and we recommend leaving it that way.
Step 7: Add a Statement to Sell Your NFT
You can now add a title and description for your list. To maximize the chances of your NFT selling, you should take some time to think about it. You are then also asked to specify the percentage of royalties you want to charge from any future resale of your art.


